


You're standing in the kitchen in Globe, looking at a thermostat that says 72°F while the outdoor unit runs again. Outside, the Arizona heat is pressing against the walls, the attic is holding yesterday's heat, and the electric bill is already on your mind. The right temp to set AC isn't the lowest number your system can reach. It's the setting that balances comfort, humidity, airflow, equipment condition, and the way your household uses the home.
A thermostat can't correct a dirty condenser coil, undersized ductwork, poor insulation, or an oversized air conditioner. It can, however, become one of the simplest controls you have over cooling demand. The practical approach is to start with a reasonable schedule, test it for a full day, then look at the equipment if the home still feels uneven or the system runs excessively.
Why AC Setpoints Actually Matter in Arizona
A homeowner in Miami once described the same pattern I hear across the Copper Corridor. The house felt comfortable in the morning, the thermostat stayed at 72°F, and the system ran hard through the afternoon. The complaint wasn't only the bill. It was that one bedroom stayed warm while the living room felt overcooled.
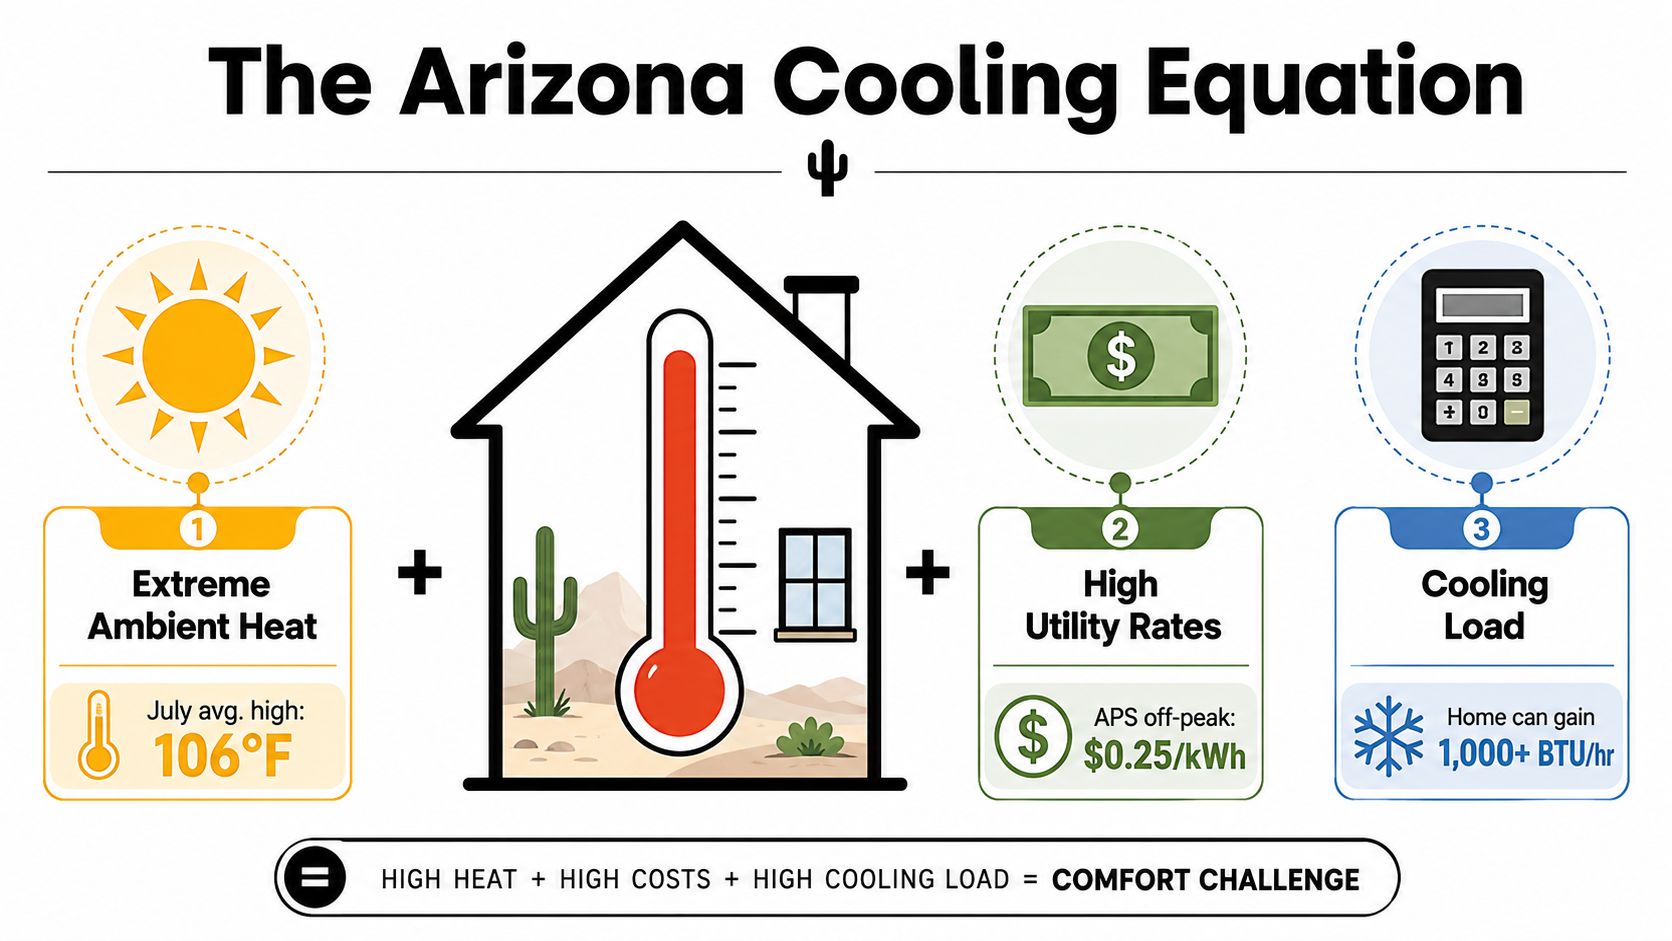
Arizona gives an air conditioner a long, demanding assignment. Strong solar gain, hot attics, dusty outdoor coils, and extended cooling seasons all increase the work required to remove heat from a home. A thermostat set only a few degrees lower also creates a larger cooling load. A widely used rule of thumb says each 1°F increase in the thermostat setpoint can reduce air-conditioning energy use by about 2% to 3%, while a University of Georgia summary places the relationship near 3% in normal operating ranges. The CBS News explanation of thermostat settings and cooling energy summarizes that baseline and the Department of Energy guidance behind it.
That doesn't mean a particular homeowner will see an identical bill reduction. Rate plans, insulation, duct leakage, equipment efficiency, solar exposure, and indoor temperature all affect the result. It does mean that moving from 72°F to 75°F can materially reduce demand, especially when the system operates for much of the afternoon and evening.
Why small changes compound
The Department of Energy's long-standing summer reference point is 78°F when people are home and awake, with a higher setting when the home is unoccupied. It also says households can save as much as 10% per year by turning the thermostat back 7°F to 10°F for 8 hours a day, as summarized in this thermostat savings guide.
For an Arizona household, the useful takeaway isn't that everyone must accept 78°F. It's that repeated small changes matter more than a one-time adjustment. If your system normally maintains 72°F, try 75°F or 76°F during occupied hours, then monitor comfort and runtime. If the house is empty for a workday, a properly managed setback can reduce cooling demand without requiring the system to maintain an empty house at the same comfort level.
If your bill has jumped despite similar habits, compare the thermostat setting with airflow and equipment condition. A local guide to unusually high energy bills can help you separate thermostat behavior from mechanical problems.
Recommended Setpoints for Home, Away, and Sleep
The 78°F occupied benchmark is a useful starting point, not a commandment. In a shaded, well-insulated home with strong airflow, 78°F may feel comfortable. In a leaky home with a hot attic, poor return air, or direct afternoon sun, even 75°F may feel uneven because the thermostat measures one location rather than every room.
Use a schedule that reflects occupancy instead of holding one temperature all day. Start with the table below, then change only one setting at a time. A small adjustment held through a complete occupancy period tells you more than repeatedly changing the thermostat every hour.
| Time or Status | Recommended Setpoint | Why It Works |
|---|---|---|
| Home and active | 75°F to 78°F | Gives the system a practical comfort range without forcing maximum cooling |
| Away for a workday | 85°F to 88°F | Reduces cooling demand while keeping the home under reasonable control |
| Sleeping | 78°F to 80°F | Supports sleep for many adults, especially with fans and suitable bedding |
| Short errand | Keep the occupied setting or raise it modestly | Avoids aggressive changes that may not last long enough to matter |
| Shoulder-season morning or evening | Use cooling only when indoor comfort requires it | Prevents unnecessary compressor operation during milder periods |
Test the schedule before committing
Start from the setpoint your household already accepts. Raise it by 1°F, leave it there for a full day and night cycle, and ask three questions:
- Does anyone wake up uncomfortable?
- Do bedrooms and living areas stay reasonably close in comfort?
- Does the system complete normal cooling cycles without unusual noise or constant operation?
If the answer is yes, try another degree. If people feel sticky rather than just warm, investigate humidity and airflow before dropping the thermostat several degrees. A lower setting won't solve moisture entering through duct leaks, ventilation problems, or an air conditioner that isn't running long enough to remove humidity.
For a household that leaves during the day, 85°F can be a practical away starting point, but homes differ. Keep sensitive occupants, pets, indoor plants, and equipment needs in mind. A home HVAC energy savings calculator can help you compare schedules using your own baseline rather than relying on a generic promise.
Sleep is personal. Some people sleep well at 80°F with a ceiling fan and breathable bedding, while others need a lower setting. If cooling blankets or fans let you raise the thermostat without disturbing sleep, use them. If humidity is the problem, fix the moisture source rather than just lowering the setpoint.
Programming a Standard or Smart Thermostat
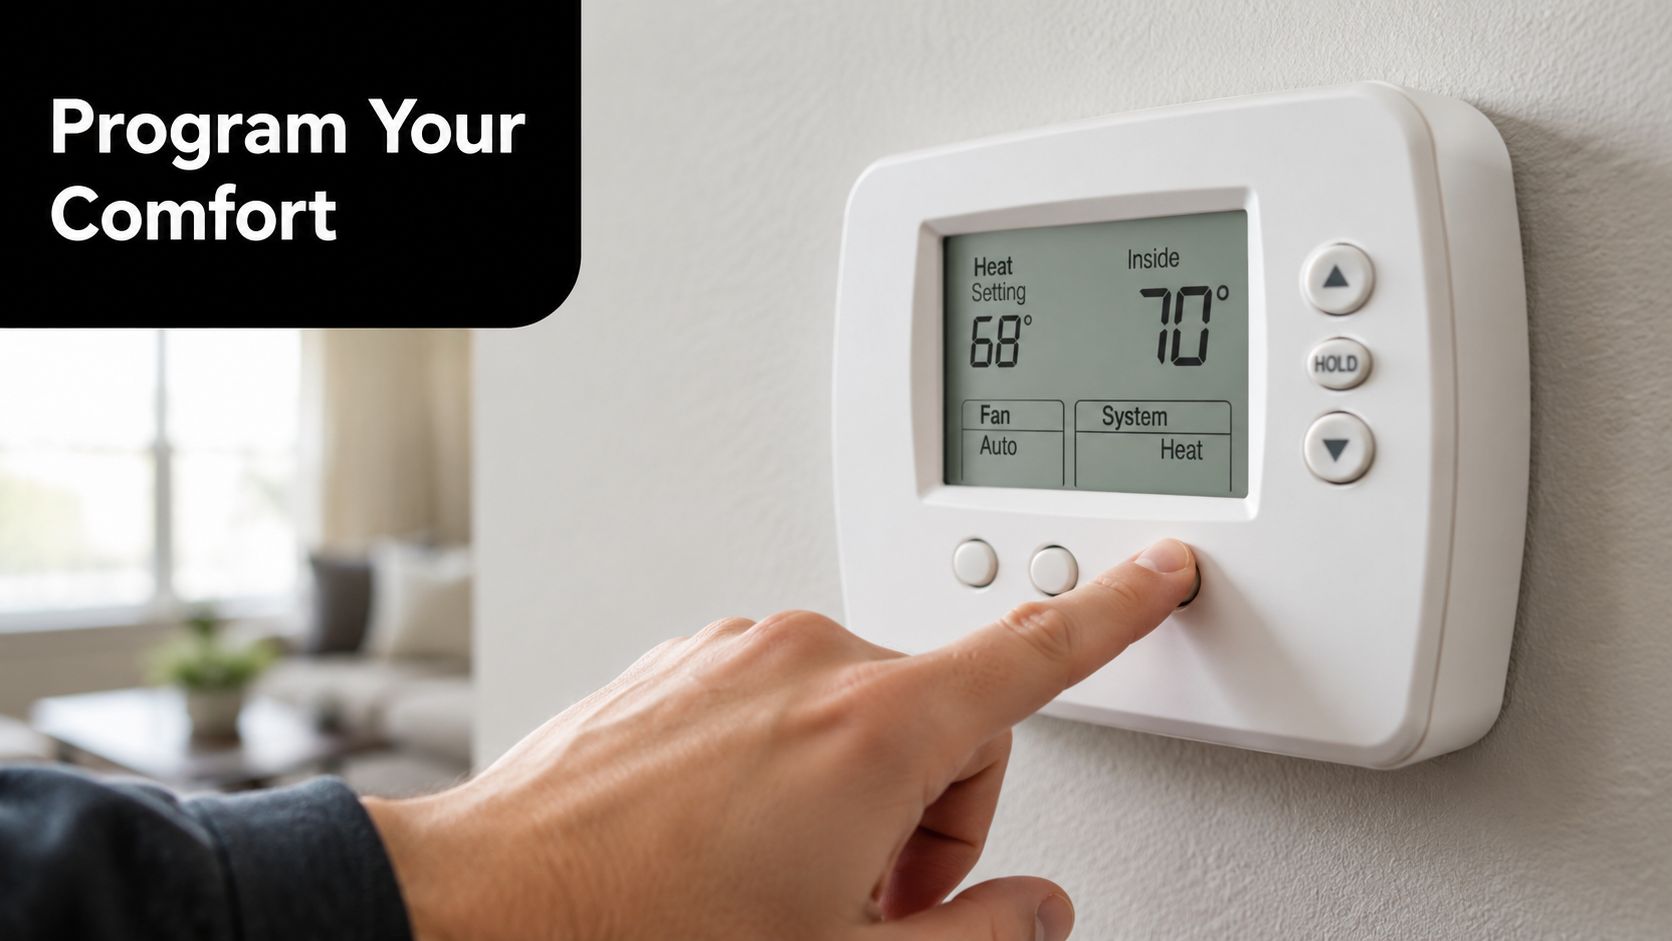
A programmable thermostat works only when the schedule matches real life. A perfect weekday program fails if someone manually lowers the setting every afternoon or leaves the system in permanent hold all weekend.
Most seven-day thermostats support four useful periods: morning, daytime, evening, and sleep. Set the morning temperature before the household wakes, use the higher away setting after the last person leaves, return to the occupied setting before people arrive, and choose a sleep setting that supports rest. Smart controls from ecobee, Honeywell, and Carrier use similar ideas, although the menu names differ.
Build the schedule around behavior
A family with teenagers needs a schedule that tolerates doors opening, late returns, and changing weekend routines. A remote worker may need a stable daytime temperature but can still raise the setting in unused bedrooms. Smart thermostats can use geofencing or occupancy sensors, but verify the behavior before trusting automation. A sensor in a hallway may not know that someone is working in a closed office.
The most common budget problem is the hold button. A temporary hold may last until the next scheduled period, while a permanent hold can erase the schedule until someone restores it. Teach everyone in the household which option they're selecting. If the thermostat offers a vacation mode, use that for extended absences instead of manually changing every period.
Practical rule: Program the thermostat once, then make deliberate adjustments. Constant manual corrections make it difficult to tell whether the schedule or the equipment is responsible for poor comfort.
Look at runtime data if your smart thermostat records it. Compare a normal day with a hotter day, then compare the same schedule after changing the setpoint. Runtime alone doesn't prove efficiency, because outdoor conditions and equipment staging also matter, but a sudden increase with no lifestyle change deserves attention.
Run the schedule through one full billing cycle before judging it. Keep notes on unusual heat, guests, cooking, and monsoon weather. Use HVAC energy-saving tips from Cobre Valley Air as a practical checklist alongside the thermostat data.
Fans, Humidity, and Staging for Real Comfort
A higher thermostat setting is easier to accept when the room feels cooler to the people in it. The air temperature doesn't tell the entire comfort story. Air movement, moisture, radiant heat from windows, and the consistency of the cooling system all influence whether 78°F feels pleasant or oppressive.
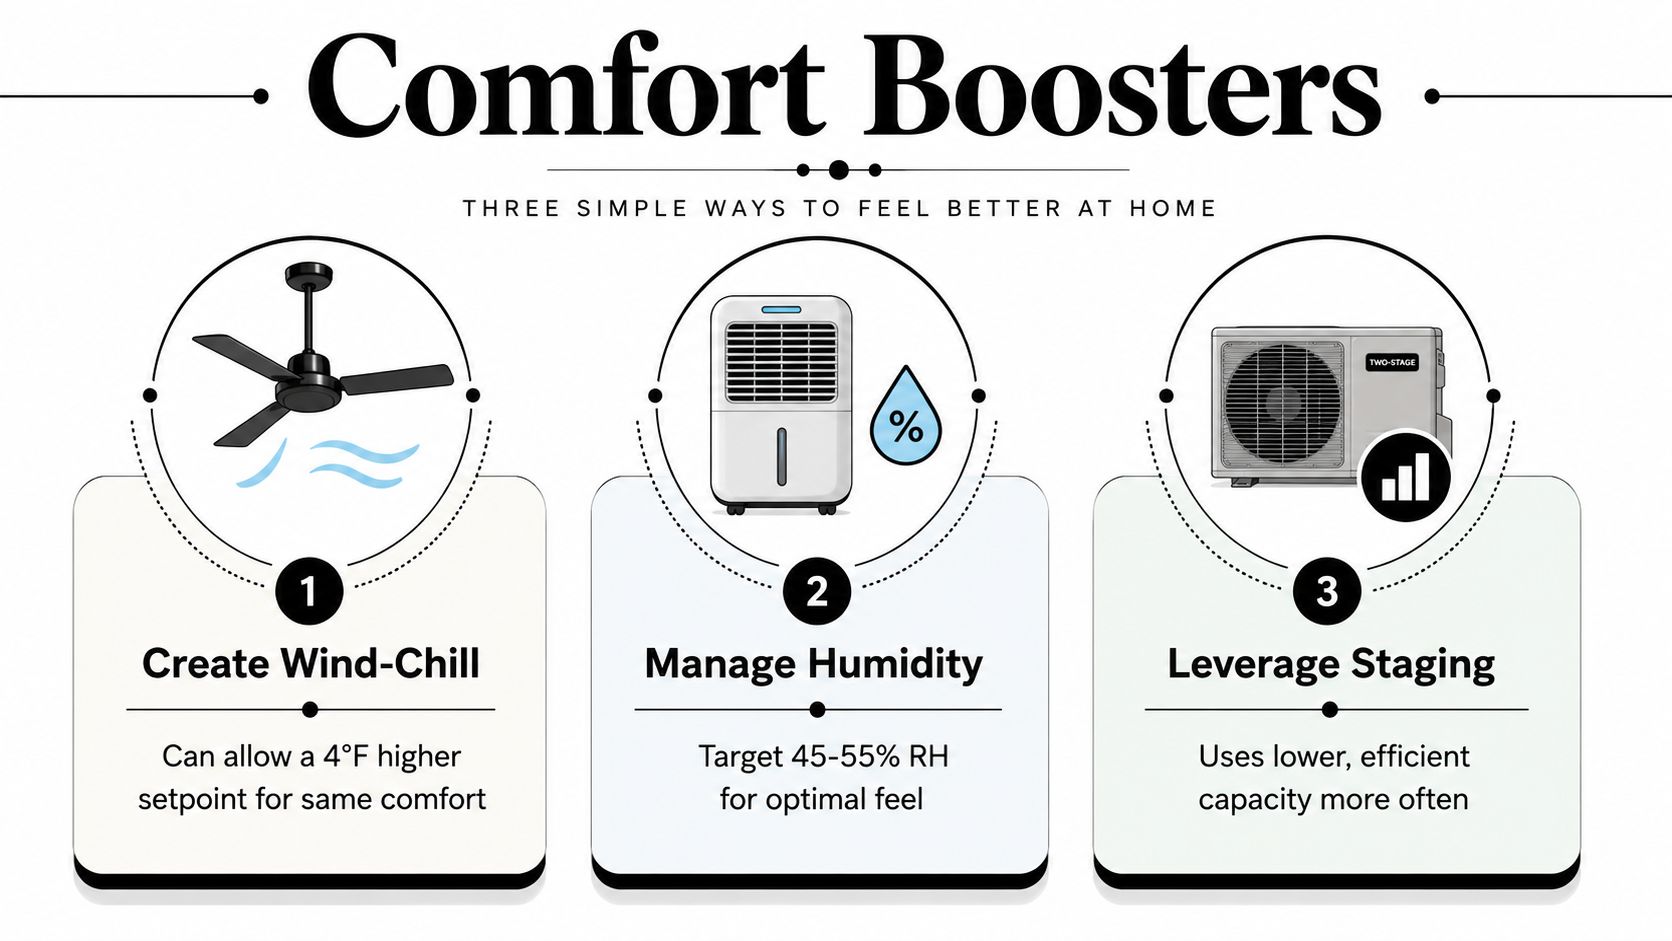
Ceiling fans are useful because they cool people, not the room. Summer operation generally means the blades rotate counterclockwise and push air downward. Building modeling summarized in the provided research found that ceiling fans can allow a 4°F higher cooling setpoint while producing 4% to 11% annual building energy savings, depending on the building and operating conditions. The research on fans and dynamic comfort control provides that context.
Stack the comfort controls
Try raising the thermostat 2°F to 3°F, then run ceiling fans only in occupied rooms. The fan should be off when nobody is there, because it doesn't lower the actual room temperature. This approach often works better than setting the whole house colder to satisfy one person sitting beneath a fanless ceiling.
Humidity complicates the Arizona picture during monsoon conditions. A whole-home dehumidifier target of 45% to 55% relative humidity can make a warmer room feel more comfortable, although the right control strategy depends on the home and equipment. Bathroom exhaust fans should run during and after showers, and kitchen ventilation should remove moisture and cooking heat rather than allowing it to spread through the house.
The comfort-boosting research also notes that dynamic setpoints produced 1.3% savings alone and 4.9% savings with fans in one building study. Those figures aren't a promise for a specific home, but they show why comfort strategies work best as a package.
Staging helps in a different way. A two-stage or variable-speed compressor can operate at a lower capacity for longer periods, creating steadier temperatures and giving the system more opportunity to manage moisture. A single-stage unit may reach the thermostat quickly, shut off, and leave distant rooms uncomfortable. If you're replacing equipment, ask whether the duct design, thermostat, indoor coil, and outdoor unit are compatible with staged operation.
Coils, Filters, and Ducts That Sabotage Setpoints
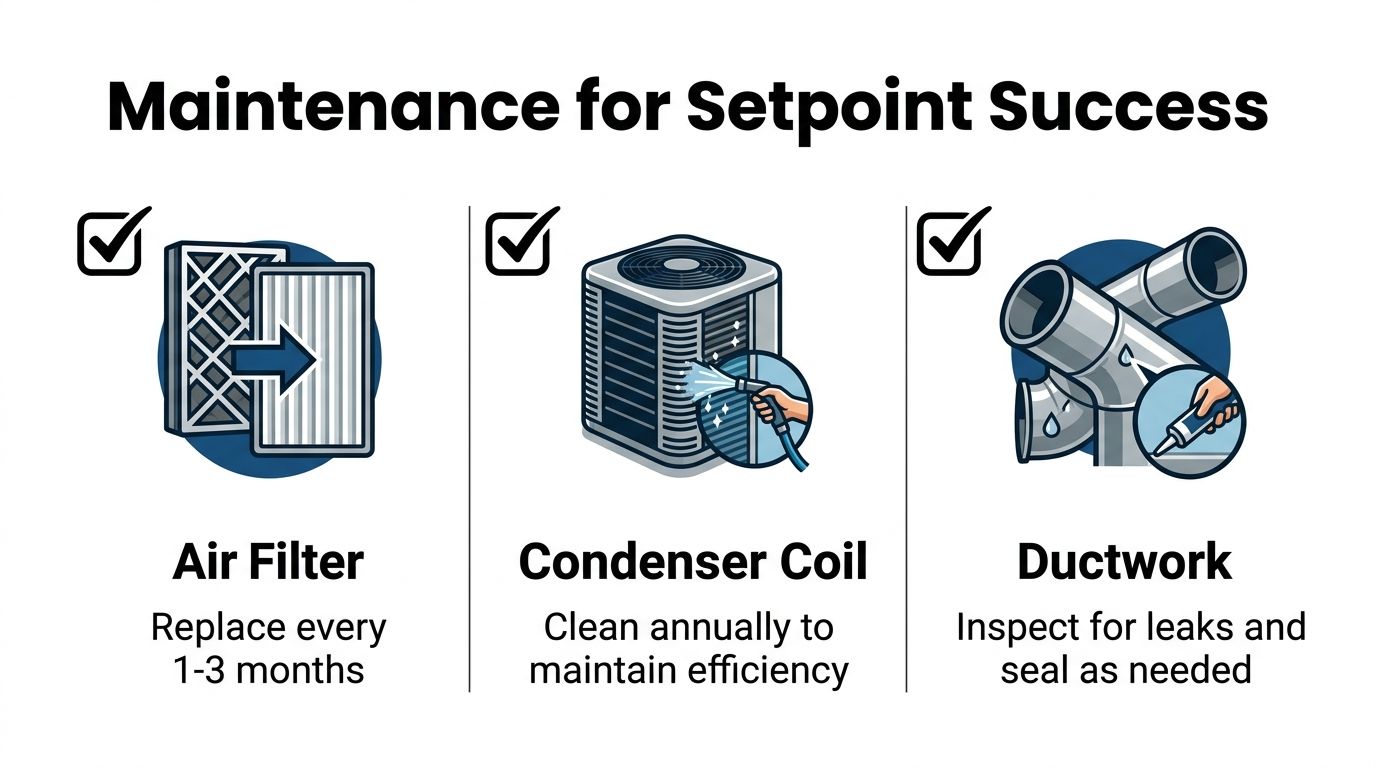
Dusty Arizona conditions make the outdoor condenser coil, indoor filter, and exposed duct connections the first maintenance points to inspect when a home cannot hold its temperature. A thermostat may show 76°F while restricted airflow or poor heat rejection keeps rooms uncomfortable and extends runtime.
Replace or clean the air filter on a schedule suited to the home. A practical residential interval is every 1 to 3 months, as shown in the HVAC maintenance guidance. Homes with pets, construction dust, or heavy particulate loading may need closer inspection. If the filter looks gray or bows inward while the blower runs, airflow is already being restricted. Confirm the filter's size and airflow direction before installing a replacement.
The outdoor coil deserves attention
A fouled condenser coil makes the compressor work harder and reduces the system's ability to reject heat during an Arizona afternoon. The Department of Energy states that dirty coils can increase compressor energy consumption by 30%, reduce cooling capacity by 7%, and raise power use by 16%, according to the cited coil-cleaning factsheet.
Switch off power before clearing leaves, dust, or other debris around the outdoor unit. Avoid a pressure washer, which can bend the aluminum fins and restrict airflow further. Light surface cleaning may suit a homeowner who knows the procedure, but a coil packed with dust, cottonwood, or oily buildup belongs in a professional service visit.
Duct leakage changes the thermostat conversation
A room that never reaches the setpoint may have a duct problem rather than a thermostat problem. Hissing near registers, visible dust around grilles, weak airflow, large temperature differences between rooms, and longer runtime after a setpoint change all warrant inspection.
For high-pressure duct systems, ASHRAE 90.1-based guidance cited by industry references calls for testing 100% of outside ductwork and 25% of representative sections of other ductwork designed above 3 inches water gauge. The same guidance identifies maximum leakage of 5% for the system, 3% for ducts alone, and 2% for supply or return ductwork leaking to or from outdoors. These benchmarks appear in the duct leakage testing guidance.
During a seasonal check, inspect the filter, condenser clearance, return grilles, supply registers, accessible duct insulation, and thermostat accuracy. If the system still struggles after those basics, stop lowering the setpoint. Arrange an airflow and duct evaluation instead.
Heat Pump Balance Points and System Sizing in Arizona
Heat pumps need a slightly different conversation because the same equipment may cool in July and heat the home during a cold Globe or Superior night. The thermostat setting affects comfort, but outdoor temperature determines when the heat pump can carry the heating load efficiently and when auxiliary heat may be needed.
The heat-pump balance point is the outdoor temperature at which the heat pump's heating capacity matches the building's heat loss. Independent HVAC references commonly place that point around 25°F to 40°F in U.S. homes, while some utility guidance places auxiliary heat lockout values around 25°F to 35°F. The heat-pump control strategies guide explains why the exact value depends on climate, equipment, and building load.
Ask about the control settings
Some thermostat configurations define a heat-pump balance point as the minimum outdoor temperature at which the heat pump operates. They also provide an auxiliary heat balance point setting from 0°F to 90°F, with the auxiliary setting required to be at least 1°F higher than the heat-pump balance point. Those controls are described in this heat-pump thermostat configuration guide.
Homeowners shouldn't guess at these settings. Ask the installing contractor what balance point was selected, what outdoor sensor the system uses, and when auxiliary heat is allowed to operate. An unnecessarily high winter setpoint can increase heating demand, while poor control settings can bring on electric strip heat too readily.
Sizing matters just as much. An oversized replacement air conditioner may satisfy the thermostat quickly but fail to run long enough for stable humidity control. A heat pump or furnace also needs ductwork designed for its airflow, not merely a cabinet that fits the existing platform. Before installation, request a room-by-room load calculation, equipment capacity explanation, airflow plan, and duct evaluation.
Right-sized AC installation, heat-pump commissioning, and duct design solve problems a thermostat cannot. If a contractor recommends equipment based only on the old unit's size, ask what changed in the home and how the new capacity was calculated.
When to Call a Pro and a Quick Local Action Plan
Homeowners can program a thermostat, replace a filter, clear vegetation from around an outdoor unit, and keep supply registers open. Refrigerant diagnosis, electrical testing, compressor problems, load calculations, duct redesign, and sealed-system repairs belong with a licensed HVAC technician.
Call for service when the equipment shows a clear warning sign:
- Ice on the refrigerant line or coil: Shut the system down and request diagnosis. Continuing to run it can worsen the problem.
- Short cycling: Frequent starts and stops may point to sizing, airflow, thermostat, or equipment faults.
- Humidity spikes: A lower setpoint won't solve moisture problems caused by duct leakage, drainage, ventilation, or inadequate run time.
- Uneven rooms: If a bedroom remains more than 3°F from the thermostat setting, have airflow and duct design checked rather than lowering the whole-house temperature.
- Rising electricity use: A sharp increase in kWh without a lifestyle change can indicate coil fouling, airflow restriction, refrigerant trouble, or duct leakage.
Your local action plan can stay simple. Set an occupied schedule in the mid-to-upper 70s, raise it while the home is empty, and adjust gradually. Run ceiling fans in occupied rooms, manage shower and cooking moisture, replace the filter on its proper cadence, and keep the condenser clear. Schedule professional AC maintenance before the harshest cooling period, including coil inspection, electrical checks, airflow measurement, drain evaluation, and accessible duct inspection.
If you're considering replacement, don't shop by tonnage alone. Ask for a load calculation, duct evaluation, equipment staging details, thermostat compatibility, and commissioning documentation. A quality installation should address airflow and duct design as carefully as the outdoor unit.
Cobre Valley Air LLC provides AC repair, AC installation, maintenance, heat-pump service, furnace work, duct inspection and design, and indoor air quality solutions for Globe, Miami, Superior, and nearby Arizona communities. Visit Cobre Valley Air LLC to schedule a diagnostic visit or discuss a right-sized replacement and a thermostat strategy that fits your home.